

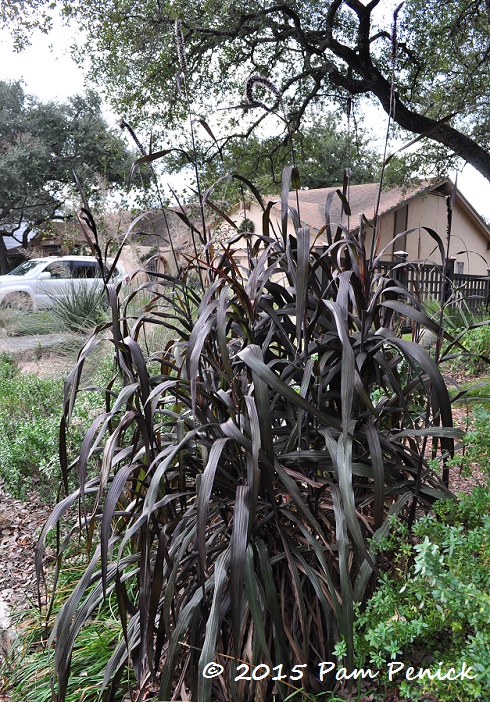
Grasses and deer-smashes for December Foliage Follow-Up
December 16, 2015 A hard freeze has not yet walloped my garden, but even if it had I’d still be able to enjoy the plants I’m showing today for Foliage Follow-Up. Take pearl millet, aka ‘Vertigo’ grass (Pennisetum purpureum ‘Vertigo’), for example. This was the most-asked-about plant on my garden ...
Peak fall color before the wash-out
December 13, 2015 A rainstorm overnight knocked a lot of the leaves down, so I’m especially glad I took these pictures yesterday afternoon. The ‘Wonderful’ pomegranate was glowing golden under gray skies, echoing the yellow stripes on the ‘Color Guard’ yuccas. A golden puddle of leaves at its feet. The ...
Friday fun, a garden gift, and a birth announcement
December 04, 2015 Here’s the fun! This giant steel spider sculpture — it’s friendly, I think; notice the leg wave — can be found at Mueller neighborhood’s Southwest Greenway, my in-laws’ new neighborhood (which means I’ll be doing garden drive-bys in Mueller a lot more often). With a bellyful of ...
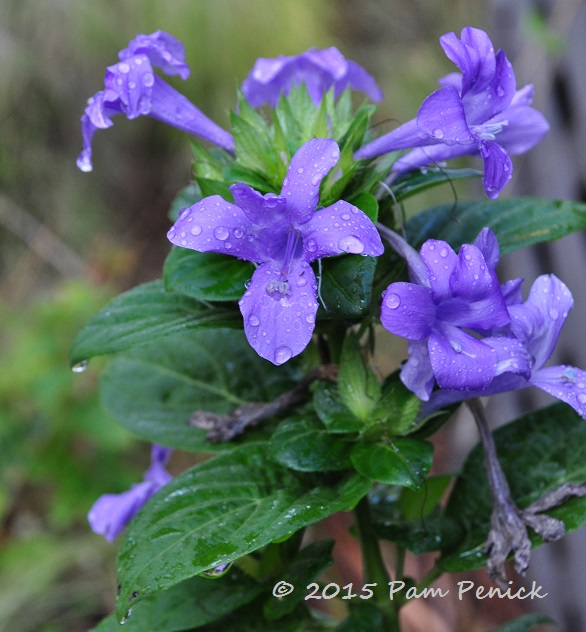
Plant This: Flipping for Philippine violet
November 05, 2015 Autumn is a boom time for most Austin gardens, with a spring-like explosion of flowering perennials like salvia, lantana, mistflower, and native daisies. Add Philippine violet (Barleria cristata) to the mix, and enjoy weeks of tubular purple flowers clustered on upright stems of glossy, green leaves. Native ...
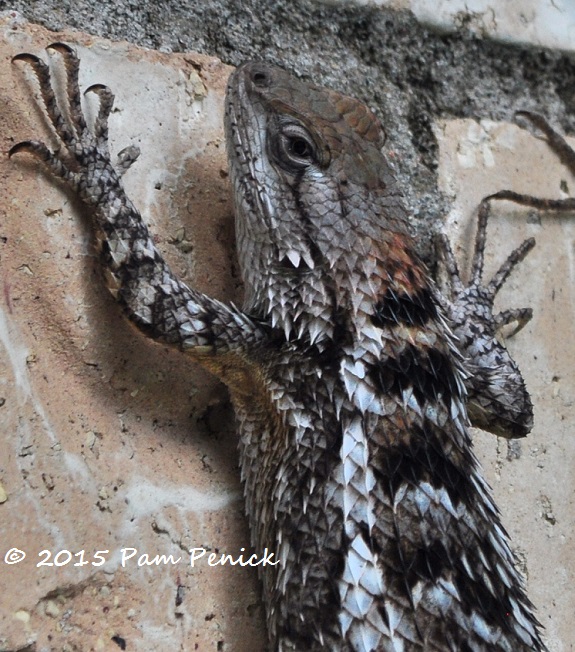
Lazing Texas spiny lizards
November 04, 2015 I lifted an outdoor clock off the brick fireplace wall on Sunday to turn it back an hour and surprised two large Texas spiny lizards that were sheltering behind it. Well, hello there! I froze, expecting them to dash up the wall. Unlike our non-native, bold-as-brass anoles, ...
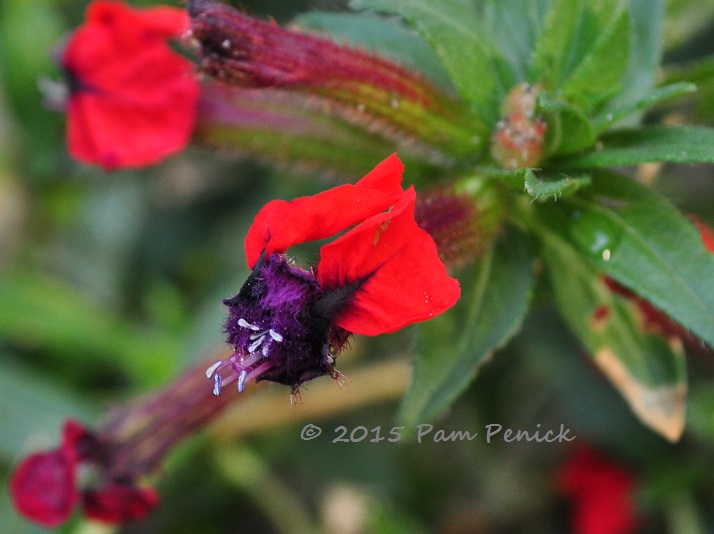
Plant This: Bat-face cuphea, perfect for Halloween in Austin
October 30, 2015 Austin is home to 1.5 million Mexican free-tailed bats, which summer under the Congress Avenue bridge downtown and constitute the largest urban bat colony in North America. The bat is the unofficial mascot of the city, and the rest of Texas thinks liberal-hippie Austin is pretty batty ...
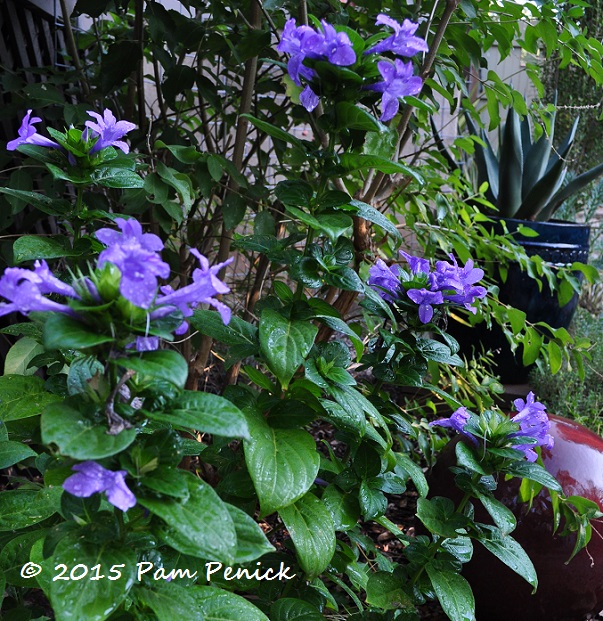
Fall flowers for a Texas garden
October 20, 2015 My shady, evergreen garden will never be showy with flowers. But I have pockets of seasonal blooms that brighten the garden for a week or two at a time and please me when they appear. Right now, Philippine violet (Barleria cristata) is one of these. I have ...
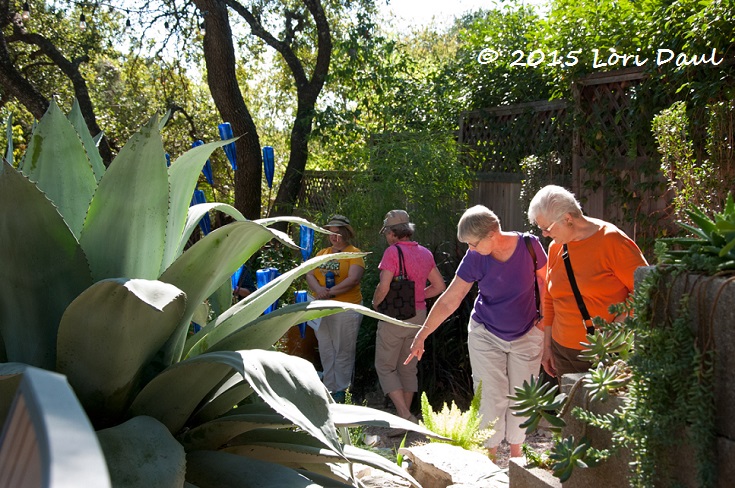
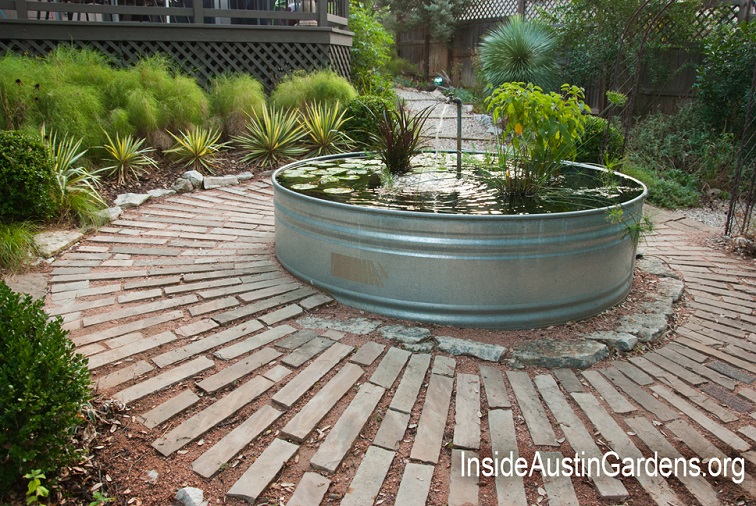
My garden on tour: highlights from the whirlwind
October 19, 2015 I opened my garden as part of the Inside Austin Gardens Tour last Saturday. It was my first time to participate in a public garden tour, and after all the garden prep, it was wonderful to finally put down the pruners and the shovel and welcome people ...

Come see my garden on tour this Saturday, Oct. 17th
October 12, 2015 After a year of preparation, it’s finally here: my first participation in a garden tour! This Saturday, October 17, from 9 am to 4 pm, my garden will be open to the public, along with 6 others, for the Inside Austin Gardens Tour. On the website, you ...
Oxblood lilies pop up after first fall rain
September 12, 2015 Maybe last week’s inch of rain — the first in two months — wasn’t technically the first fall rain. After all, it still sweltered into the 90s that day and the day after. But by the reckoning of the oxblood lilies (Rhodophiala bifida), the soil is refreshed ...

Evening garden design musings
September 08, 2015 Dusk is falling more softly as summer wanes, and the lingering evening glow is inviting, even if Austin is still hot and dry. Here are a few random shots from a recent walk-around at dusk. (The rest are in my post about foliage gardening apologies.) This view ...

Foliage gardening apologies: do you do it?
September 06, 2015 At least once or twice a month I find myself trying to explain my garden to politely interested non-gardeners. A couple of days ago the smiling inquiry was from a new doctor. Upon learning that I liked to garden, she asked the standard question, “What do you ...
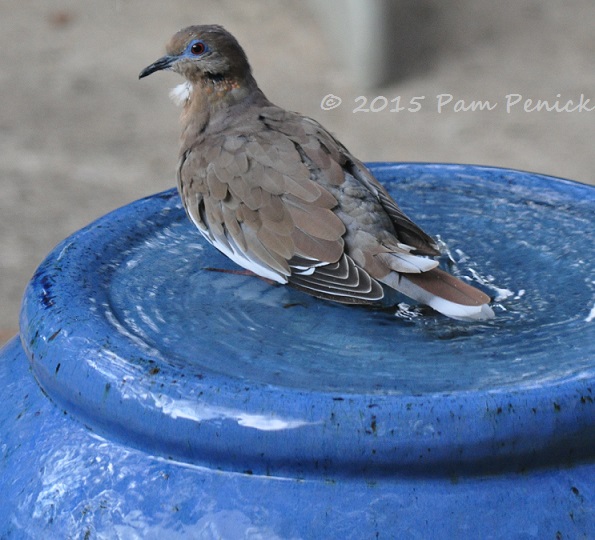
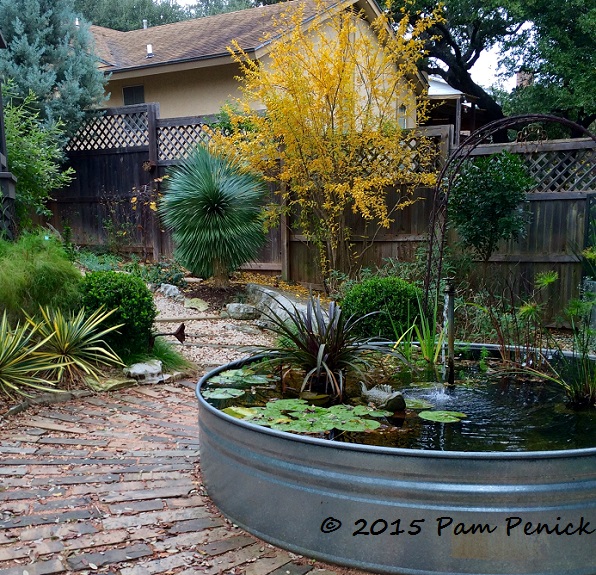
Cooling fountain hits the spot
September 04, 2015 Do you ever have one of those days where you just want to stick your fanny in a fountain and watch the world go by? This white-winged dove did just that this morning. While putting together lunch, I looked out the kitchen window and spotted him there ...
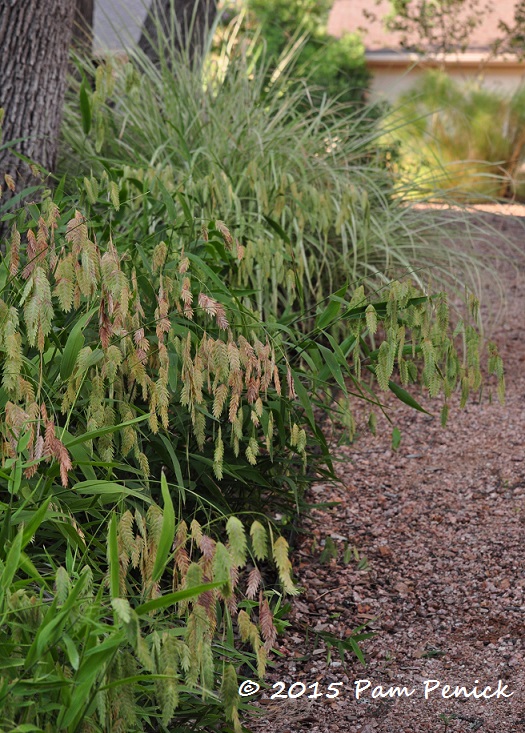
Plant This: Inland sea oats
September 01, 2015 Are you hunting for a shade plant that looks good from April to January but especially shines during the challenging late summer? Try inland sea oats, also known as northern sea oats (Chasmanthium latifolium), a grass that’s native to eastern and central North America, including central Texas ...
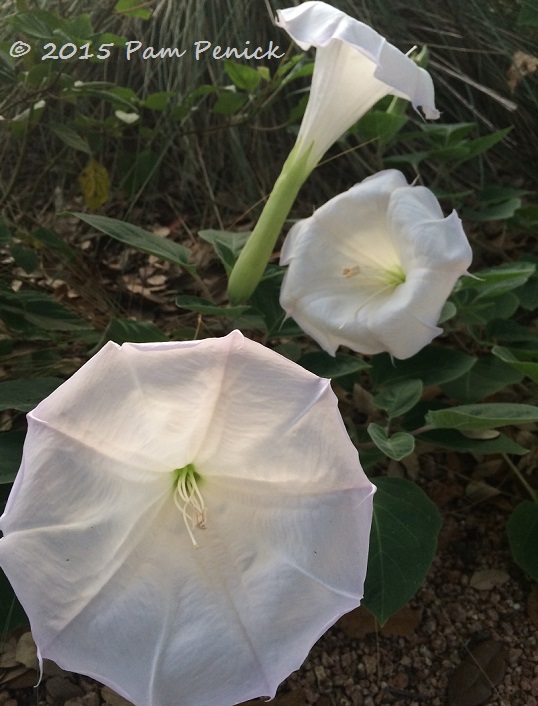
Good morning, sleepyhead!
August 31, 2015 Every morning lately I’ve checked out the datura (Datura wrightii) in the front garden to see how many of its night-blooming flowers are still open. Because it’s growing in bright shade, it’s never smothered in flowers, but even two or three of these hand-sized blossoms make a ...
The Gardener of Good and Evil makes my garden look good
August 28, 2015 Water visually cools Pam’s back garden. Photo by Lori Daul. Although she claims both a halo and a pitchfork in her blog name, Lori Daul of The Gardener of Good and Evil is purely a force for good — or at least that’s what I believe after ...