

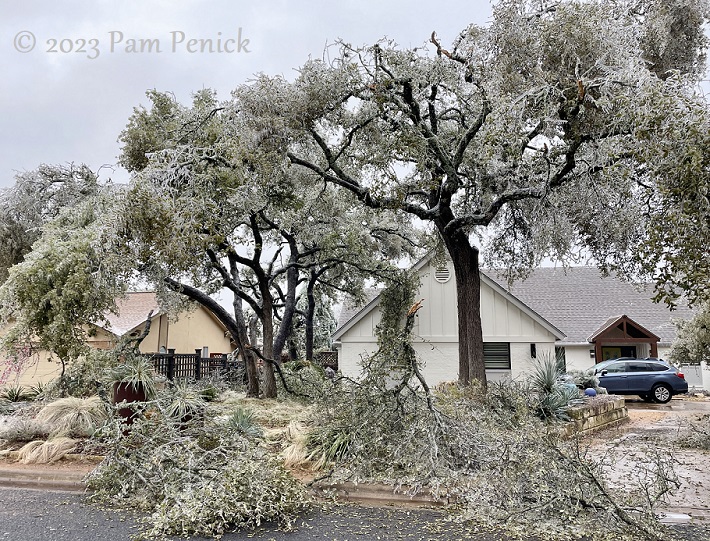
Arbormageddon ice storm smites Austin’s trees
February 08, 2023 Icicles are picturesque on a whale’s tongue agave Most people’s gardens get shadier over time. Mine is growing sunnier. Extreme weather events over the past 15 years — droughts, hotter summers, and Snowpocalypse — have stressed and thinned the tree canopy in my garden. A week ago, ...

Oakleaf hydrangea blooming but wants acidic soil
May 24, 2020 After years of coveting oakleaf hydrangeas (Hydrangea quercifolia) I’d seen in other Austin gardens, I found a shady, relatively moist spot to plant one of my own. Near an air-conditioning unit’s condensate discharge, which directs water toward this bed, and shaded by a large crape myrtle, this ...
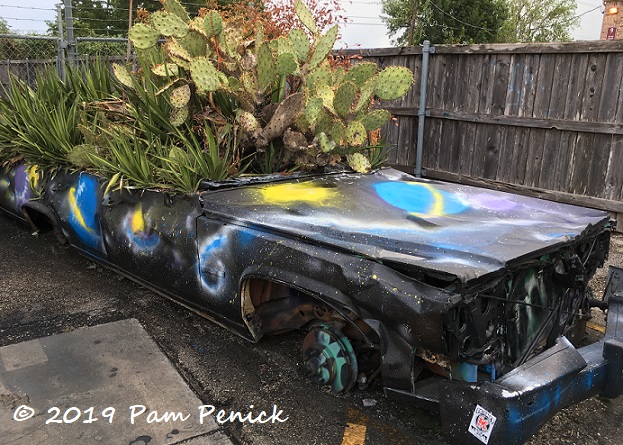
Things are looking pretty crispy
September 09, 2019 Junker planted with cactus and agaves behind Planet K (long story) in north Austin. It’s endless summer in Austin, and things are looking pretty crispy. The garden (and gardener) gasps for rain, and I’m seeing browned-out trees all over town. Enough is enough, Death Star! One of ...
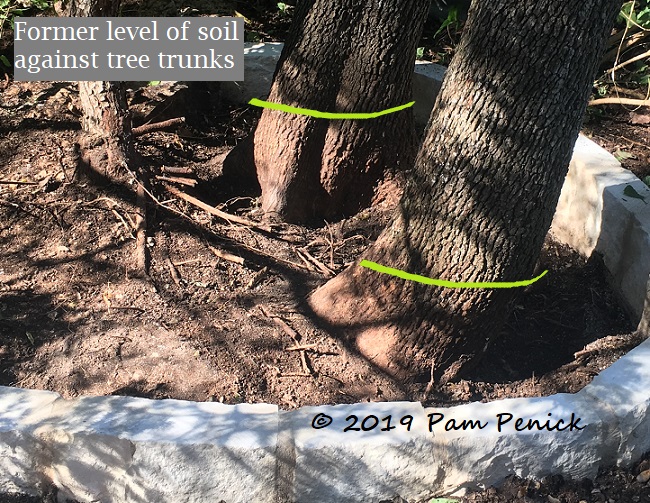
Don’t smother your tree trunk. Let it flare!
February 05, 2019 How many times have you seen a tree trunk that looks like this? It looks nice and neat, right? The trunk is tidily surrounded by mulch that’s layered right up against the bark. Maybe under that mulch there’s also a layer of soil added when sod was ...
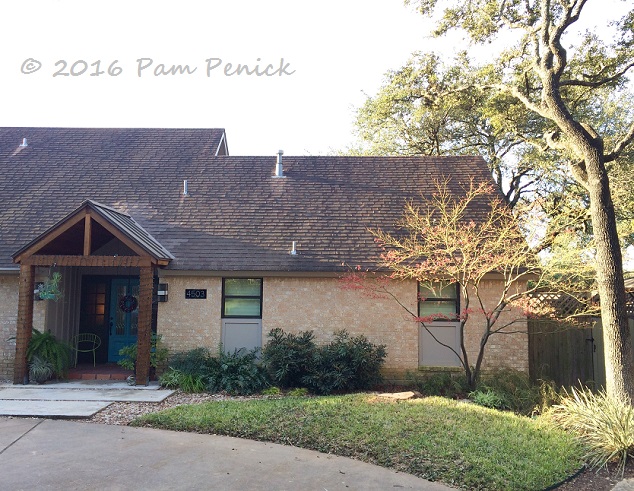
Losing a tree diseased by hypoxylon canker
December 28, 2016 A few days before Christmas, the front garden endured a major change: a fatally diseased live oak near our front door had to be removed. I’d had an arborist out the week before to give me a bid on general tree trimming, and he immediately spotted the ...
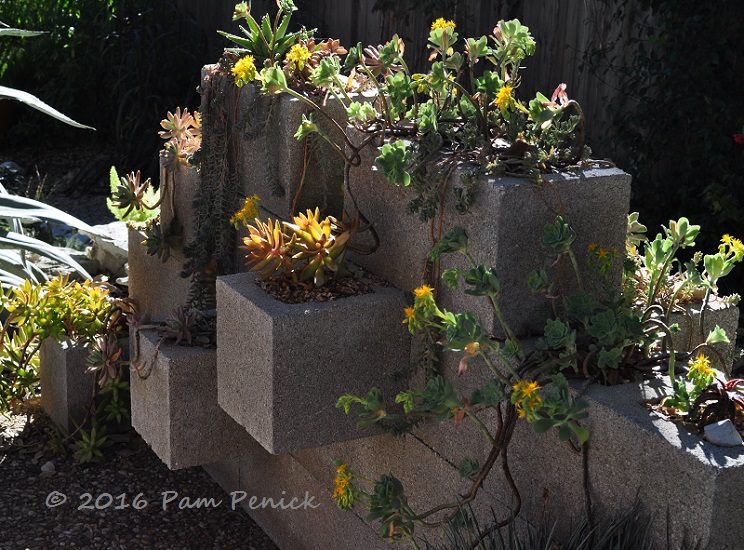
Shrub trouble for Foliage Follow-Up
February 16, 2016 I have shrub trouble (shrubble?). No, this isn’t a picture of it. This is my succulent wall, which is doing beautifully this mild, dry winter, and which simply glows in late afternoon light. Here’s the “shrubble.” One of my favorite evergreens for shade and deer resistance, Chinese ...