

Early March visit to Mercer Botanic Gardens in Humble
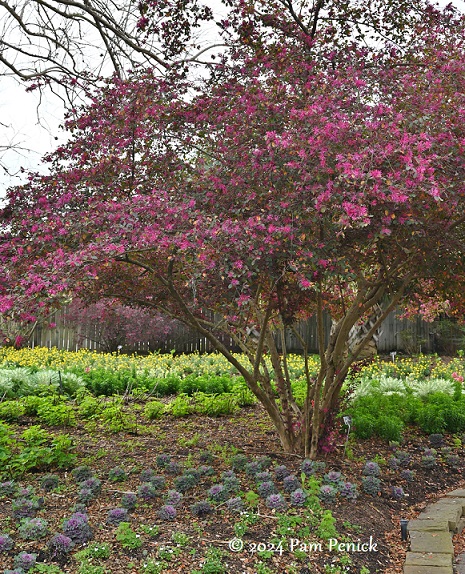
March 12, 2024 Two weekends ago, during a trip to Houston to see family and friends, I made a morning visit to Mercer Botanic Gardens in the northern suburb of Humble. The gardens were just waking up for spring, and I enjoyed a leisurely stroll along garden paths and trails ...
Digging is 18 years old, and other news
February 20, 2024 Last week I celebrated two milestones. Digging turned 18 years old on Valentine’s Day, which means the blog is a full-fledged adult now. Still can’t drink though. I’m amazed by how long blogging has continued to interest me, even as so many other blogs that started around ...
Winter beauty at the Wildflower Center
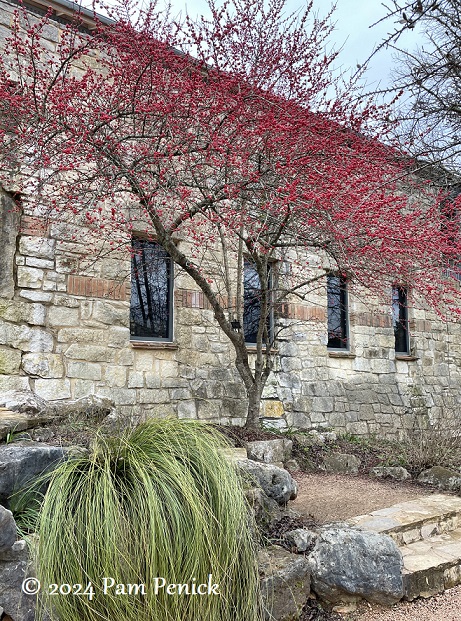
January 30, 2024 It’s possumhaw berry season in Austin. The crimson berries of this deciduous native holly (Ilex decidua) are blazing at the edge of woodlands and in sunny gardens all over town, including at the Lady Bird Johnson Wildflower Center. This one in particular wowed me last Saturday. I ...
Serving up Chanticleer’s Tennis Court Garden
December 30, 2023 Continuing my coverage of Chanticleer Garden, one of the stops on the Philadelphia Area Fling tour in September, I’m taking us today to the Tennis Court Garden. To enter, you descend a formal stone stair with planted-up handrails. I loved a previous iteration planted with fleshy mangaves ...
Christmastime flowers and no freeze yet
December 24, 2023 Here it is Christmas, and Austin has so far escaped a hard freeze. That plus mild temps and occasional rain showers means flowers, flowers, flowers! Like Mexican flame vine (Senecio confusus) delivering punchy orange petals to the elevated deck. Giant ligularia (Farfugium japonicum ‘Gigantea’) glows with yellow daisies ...
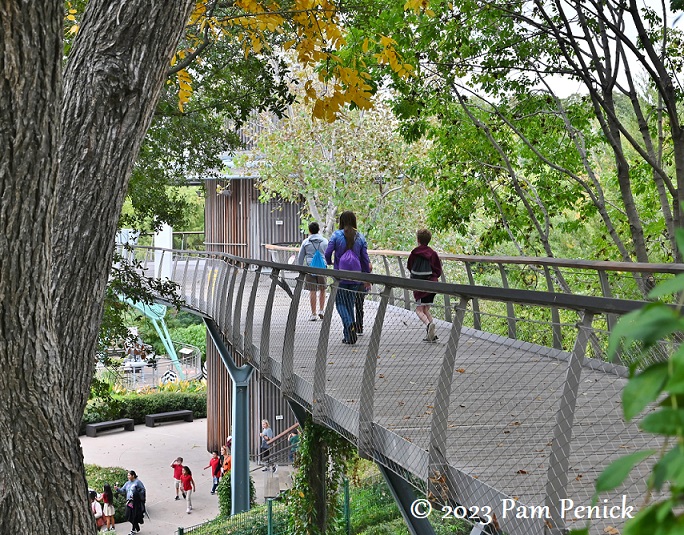
Children’s Adventure Garden at Dallas Arboretum
November 20, 2023 The Rory Meyers Children’s Adventure Garden at Dallas Arboretum opened 10 years ago, but somehow I’d never visited until last month. Why? I guess because my kids had outgrown children’s gardens by the time it opened, and so it wasn’t on my radar despite many visits over ...
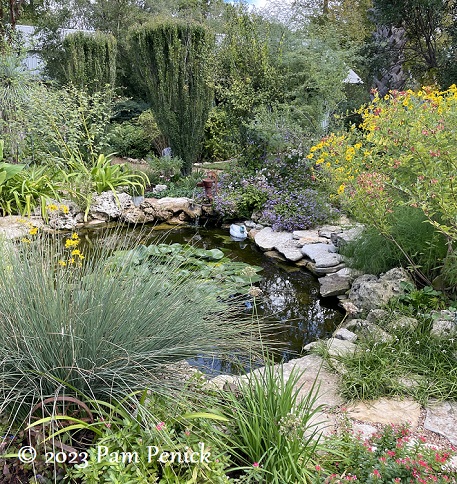
Colleen Belk’s Old Austin garden
November 15, 2023 An Old Austin-style garden was featured on the Garden Conservancy’s Open Days tour two weekends ago: Colleen Belk’s 43-year-old garden. Yes, 43 years! What is Old Austin style, you may ask? I think of it as a lushly planted Austin garden with Deep South-meets-Southwest plant choices, sort ...
Stoneleigh native-plant estate garden and Flingers
November 02, 2023 Our banquet dinner at the Philadelphia Area Fling was held in the grand old Tudor Revival mansion at Stoneleigh: A Natural Garden, located in Villanova, Pennsylvania. Before dinner, we were set loose in the garden to explore for an hour. Let’s start with the house garden, where ...
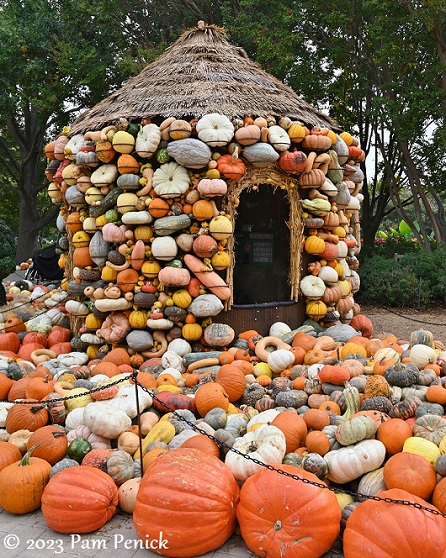
Pumpkin season at the Dallas Arboretum
October 28, 2023 While in Dallas last week I visited the Dallas Arboretum to see their annual pumpkin extravaganza. The last time I’d seen it was pre-Covid. Autumn at the Arboretum I was surprised to find that Autumn at the Arboretum has been relocated from a shady grove near the ...
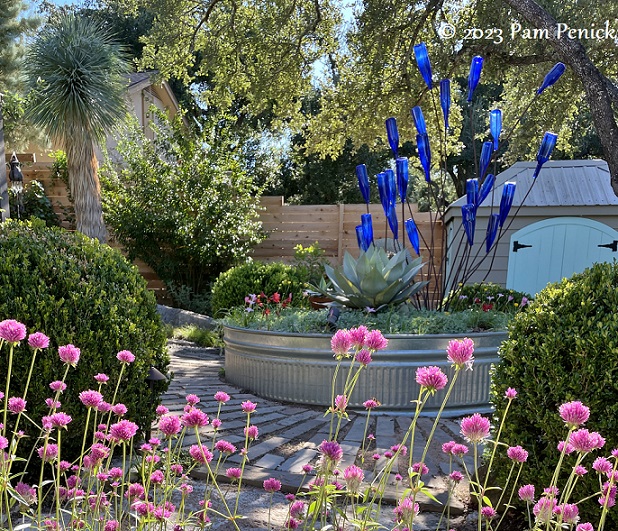
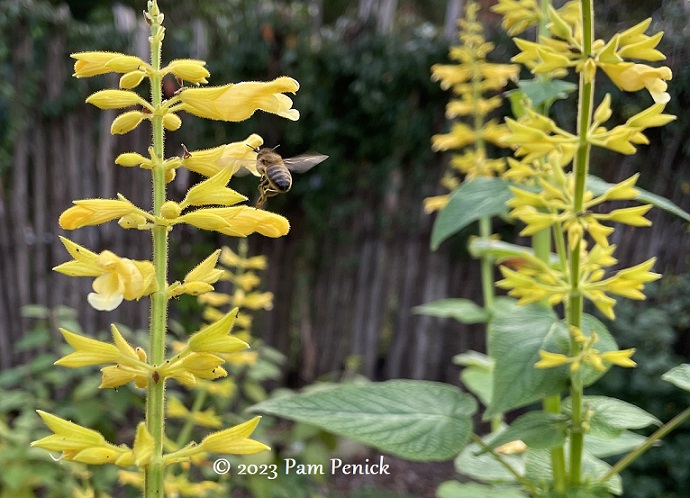
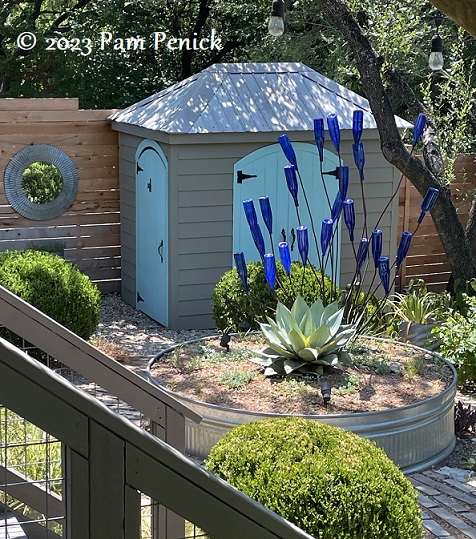
October blooms brighten my garden
October 12, 2023 October! It’s the best month of the year, providing sweet relief from a Texas summer with cooler weather and rain and bringing the garden back to life. Let’s take a stroll ALL around the garden and see what there is to see. It’s oxblood lily season! These ...
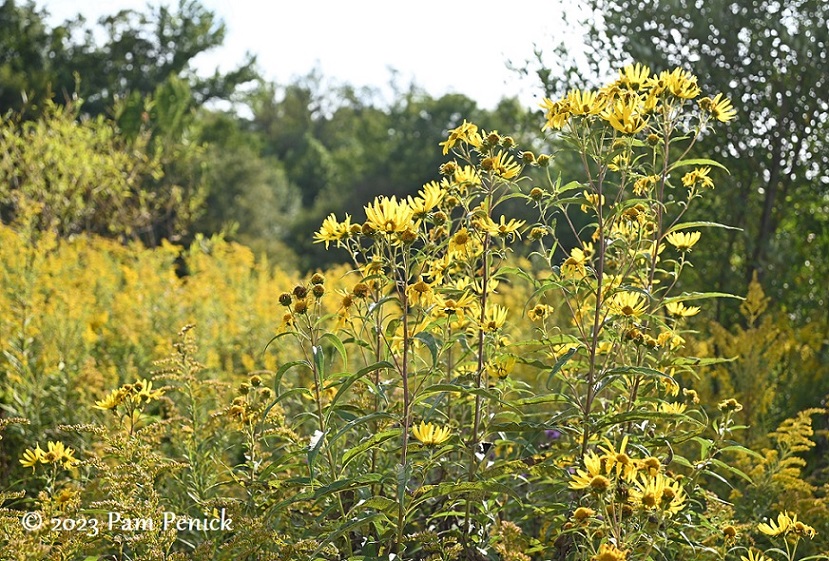
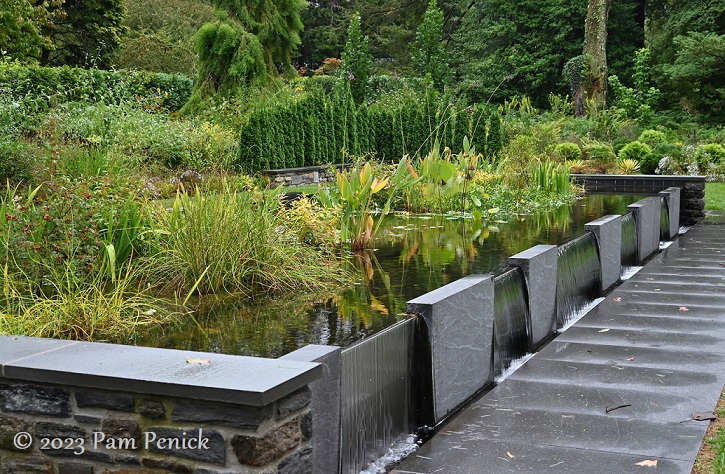
Into the sunflowers in Longwood’s meadow
October 04, 2023 As I roamed Longwood Gardens during the Philadelphia Area Fling, I was eager to see the Meadow Garden in its late September glory. I set off on the meadow trail in late afternoon, as the light slanted low through golden petals and tawny grasses. I reached the ...
Hot summer survivors and new book news
August 21, 2023 This summer, y’all. Am I right, my fellow Texas gardeners? But even with two months of surface-of-the-sun temps and zero rain, at least a few plants are happy. Like this pink-flowering mammillaria cactus that burst into silken bloom a few days after I gave it a deep ...
Exploring Fortlandia’s creative hideouts
December 21, 2022 Chrysaline fort Each fall through winter, the Lady Bird Johnson Wildflower Center entices kids and kids at heart to explore a handful of creative “forts” built by Austin landscape architects, architects, designers, and artists. It’s called Fortlandia, and I always go see it. This year, because the ...
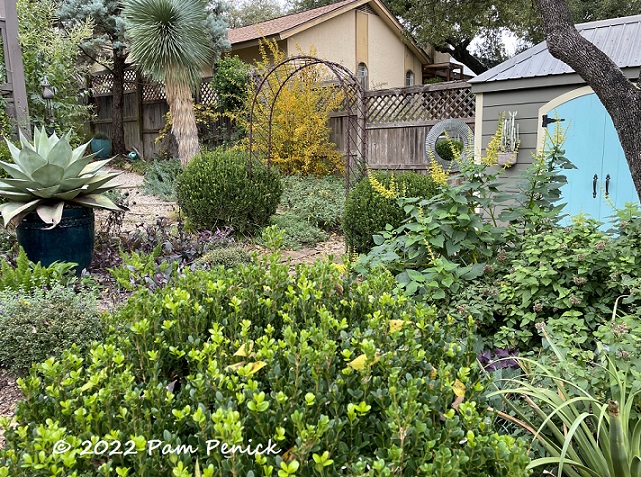
Enjoying fall color and a mellow garden
December 07, 2022 By the time I hang red Christmas balls from the agave’s spines, the Japanese maple finally blushes red too. Fall comes late to Central Texas, but I’ll take it, even at Christmastime. Last week was peak color for the Acer palmatum. Today, shriveled tan leaves cling to ...
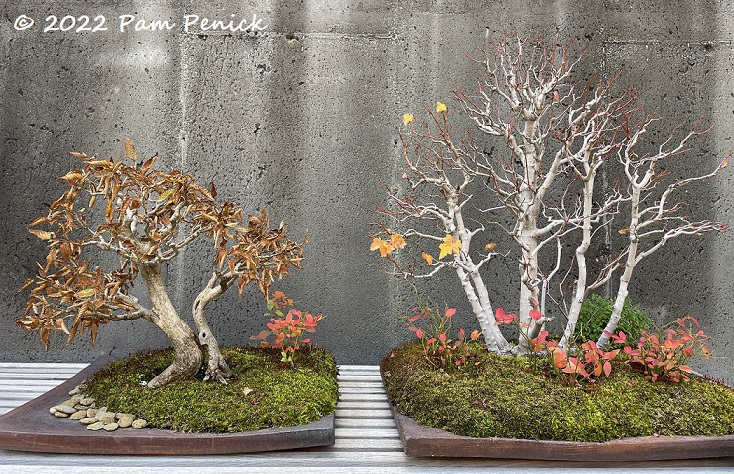
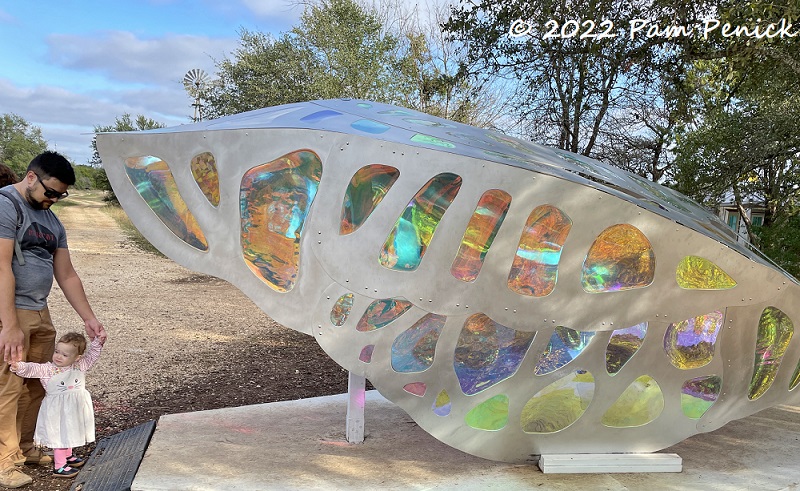
Bewitching bonsai, art, and autumn gardens at North Carolina Arboretum
November 30, 2022 Located in Asheville on the doorstep of the Blue Ridge Parkway, with views of the Southern Appalachian Mountains, the North Carolina Arboretum draws hikers, mountain bikers, and trail walkers thanks to 10 miles of wooded, hilly, dog-friendly trails. But garden lovers like myself find plenty to enjoy ...
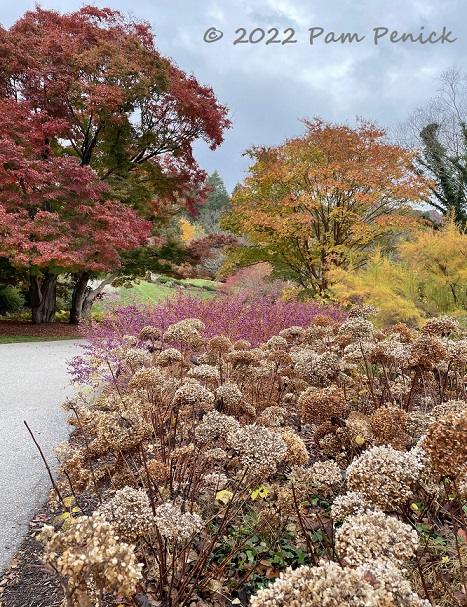
Autumn gardens and biking at Biltmore House
November 17, 2022 During our visit to Asheville, North Carolina, earlier this month, we spent one day at Biltmore House — but not to see the castle-like chateau erected by the New York-based Vanderbilts as their summer place. We’ve toured the house before, and it’s interesting, but I didn’t feel ...